How to DIY Spring (Green) Clean Like a Pro – Part 1
by Rhys Jones, Two Bettys Marketing & Project Manager
April 6, 2021
Spring hath sprung, and we love it! But all this sun is highlighting the layers of dust everywhere we look. Our couches carried us through winter like magic carpets, but now they look weary. Our vacuums may be trusty, but maybe they’ve also developed a winter cough. Time for some TLC!
Spring cleaning looks different for everyone. Rather than giving you an exhaustive spring cleaning checklist, I’m going to focus on four off-the-beaten-path spring cleaning projects. You’ll get two this week and two next week, so be sure to check back!
Deep clean your couch
After a winter of being my second bed (and my dog’s first-choice bed), my couch was crying out for help.
You’ll need:
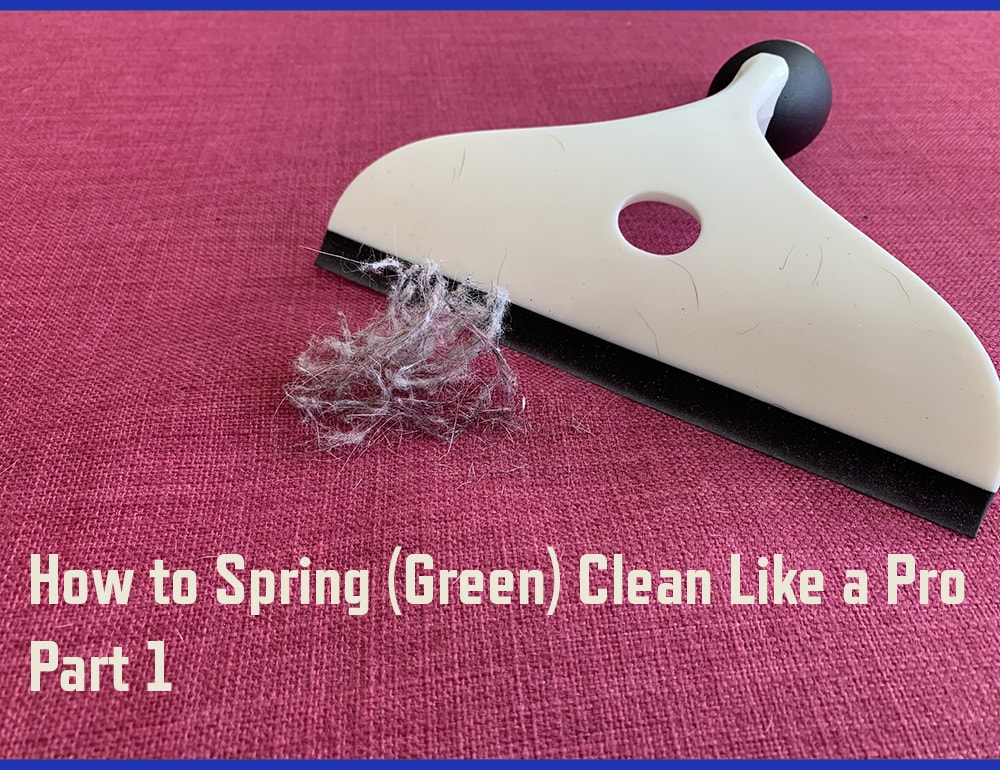
- A rubber-tipped squeegee (*cough* we sell those *cough*)
- A vacuum cleaner
- A handheld steamer, or iron with a steam setting
- A microfiber cloth or other cleaning cloth (optional)
Start by using the squeegee to drag dust, fur, hair, and debris from the surface of your couch. For best results, start by pulling your squeegee toward you, and then go left to right. This will produce a roll of well…. couch junk.
Next, show all that dust and debris who’s boss by vacuuming your entire couch thoroughly. Bonus points if you use an upholstery brush attachment. Vacuuming in multiple directions will help you suck up the maximum amount of junk. If your couch has removable cushions, attack the crumb repository underneath them. Don’t be surprised if you find some change and those earbuds you thought you lost.
Finally, use the power of steam to release smells (aka The Funk) and any junk that’s still clinging to your couch. Run your steamer across the surface of the fabric. If you’re using an iron, turn on the steam setting and release the beast (aka steam). Have a cleaning cloth handy to rub out any stuck-on messes that the steam loosens. Steam can help kill bacteria, germs, and dust mites without having to spray liquid disinfectants or stinky chemicals onto the fabric.
Clean your vacuum cleaner
The first meme my mother ever sent me was something to the effect of: “When you clean your vacuum cleaner, it is you who becomes the vacuum cleaner.” So meta, dude. Keeping your vacuum well maintained helps it do its job better and more efficiently. But I’ve discovered, through sharing my enthusiasm for this cleaning task, that it’s not really something a lot of folks know about. Time to demystify!
- Clean the reusable filter: Many canister vacuum cleaners have cleanable, reusable filters. Not sure if your filter is washable? Check the owner’s manual. On my Shark Navigator vacuum, the filter lives underneath the canister. I start by removing the filter and taking it outside to shake as much loose dirt and dust off as possible. It helps to tap it against a wall or other hard surface to knock debris out (make sure you’re not downwind unless you like being coated in dust). Then, rinse the filter thoroughly in warm water until the water runs clear (skip the soap). Allow your filter to dry for 24 hours and voila! Clean and ready to go. (If your filter isn’t reusable, just use this step as a reminder to pop a new filter in!)
- Free the brush roller: If your vacuum has a brush roll in the foot for vacuuming carpets, chances are there’s plenty of hair, dust, and fibers wrapped around it. To clean this part of your vacuum, start by unplugging it (safety first!). Lay the vacuum down so you can get at the underside. Using a pair of scissors, carefully cut a section of hair/dust gunk and pull the debris off the brush. Repeat this step until your brush is nothing but, well, a brush! If there are really stubborn bits, a tweezer can help yank those out. Having the roller free of debris lets your vacuum do its work much more effectively.
- Wipe it down: In the course of keeping our homes clean, our vacuum cleaners get kinda dirty. Dust and dirt settle on surfaces and can redistribute it as you clean, which just leads to more work. Give your vac a nice “bath” with a cleaning cloth and all-purpose spray cleaner. Spray the cleaning cloth and wipe down the entire surface of your vacuum, paying special attention to the nooks and crannies. Don’t forget to clean the handle. If you’re feeling really wild, give that cord a good wipe too.
Make sure to check back next week for two more spring cleaning projects from our cleaning pros.